|
This tutorial is by Tetê Samuel, whom I thank for
letting me translate his tutorials. * *
4.
5.
8. Merge Group 9. Layers / Duplicate 10. Merge down 11. Adjust / sharpness / Sharpen More 12. Add a new layer 13. Layers / Arrange / Send to Bottom 14. Paint with the gradient with this other setting:
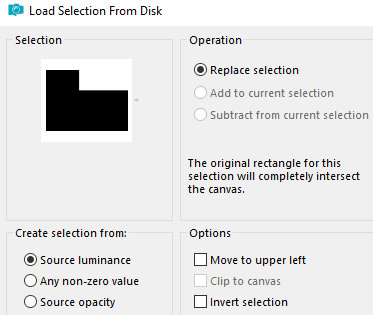
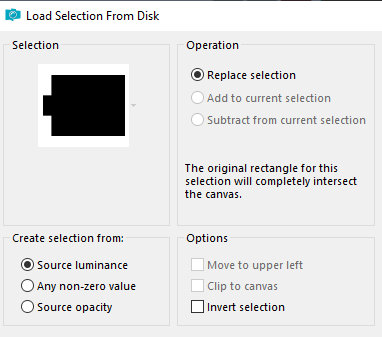
15. Selections / Load selection from disk / Selection [sel-tete-confidence]
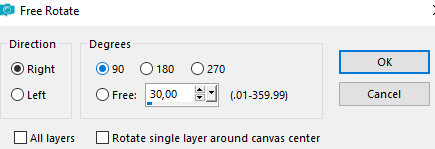
16. Selections / Promote Selection to layer 17. Select none 18. Effects / Plugins / Picture Man Collection: Art Gallery / Canvas 19. Effects / Edge Effects / Enhance 20. Layers / Properties / blend Mode: Overlay 21. Layers / Duplicate 22. Image / Free rotate
23. Activate the pick Tool and set: X=596 / Y=118
24. 25. 26. Activate raster layer 1 27. Selections / Load Selection from disk / Selection [sel-tete-confidence1]
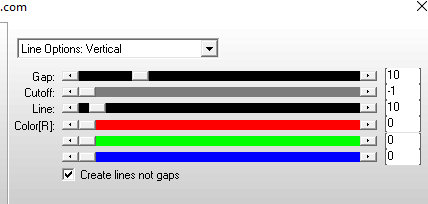
28. Selections / Promote selection to layer 29 Select none 30. Effects / Plugins / AP [Lines] / SilverLining
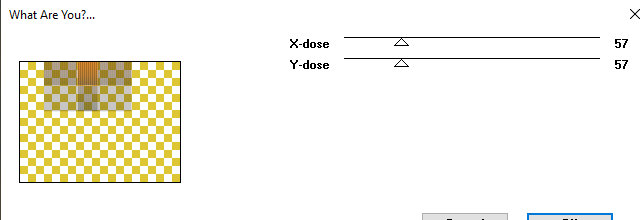
31. Layers / duplicate 32. Image / Mirror / Mirror Vertical (flip) 33. Image / Mirror / Mirror Horizontal (Mirror) 34. Effects / Plugins / Toadies / What are you?
35. Layers / Properties / blend mode: overlay 36. Activate the layer promoted Selection 1 37. Layers / Properties / blend Mode: Overlay 38. Activate the top layer - Group Raster 1 39. Selections / Load selection from disk / Selection [sel-tete-confidence2]
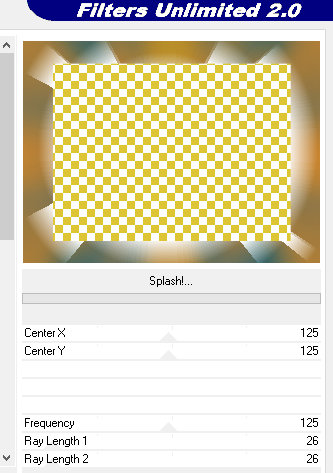
40. Selections / Promote selection to layer 41. Select none 42. Effects / Plugins / Toadies / What are you? 43. 46. 53. 54. 55. Layers / Arrange / Move down 56. Activate the top layer 57. Merge down 58. Effects / Plugins / Unlimited 2 / BKG Designer sf10 III / Splash
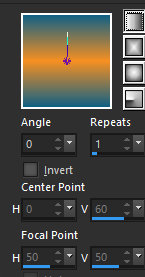
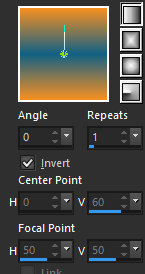
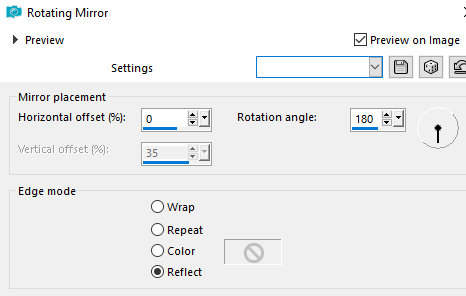
59. Effects / Reflection Effects / Rotating Mirror
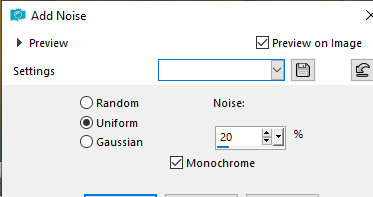
60. Adjust / Add/Remove Noise / Add Noise
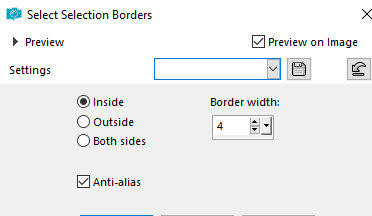
61. Selections / Invert 62. Selections / Modify / Select selection borders
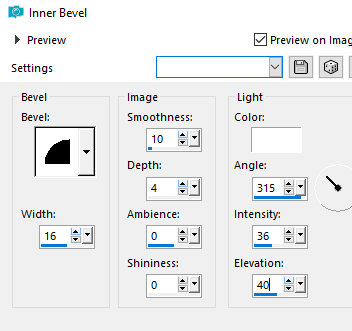
63. Add new layer 64. Paint with foreground color 65. Effects / 3D Effects / Inner Bevel
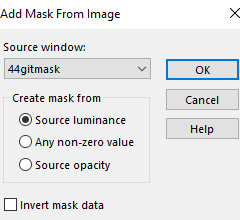
66. Merge Down 67. Select none 68. Add new layer 69. Paint with white color 70. Layers / New mask Layer / From Image / Mask [Narah-Mask_0177]
71. Merge Group 72. Image / Mirror / Mirror Horizontal(Mirror)
*
|