|

This
tutorial is by Angela das Graças, who I thank for letting me
translate her tutorials.
*
Original here

*
Tubes

*
Material

*
Plugins
Effects / Plug-in / Graphics Plus / Weaver
Graphic Plus/Cross Shadow Plug-in
Effects / Plug-in Nick Software / Color Efex Pro
SCRIPT
1.
Open the material on PSP / Duplicate (shift+d) / Close the originals
Choose two colors for your tubes: a dark color for the background
and a light color for the background
2.
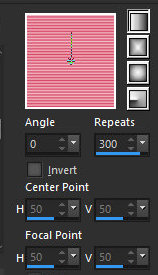
Prepare a Linear gradient
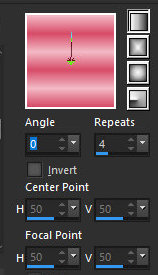
Open a new transparent image measuring 1000 x 700px
Paint with the gradient
3.
Layers / New mask Layer / From Image / Mask [Narah_Mask_0839]

Merge Group
Layers/Duplicate
4.
Image / Mirror / Mirror Horizontal
Image / Mirror / Mirror Vertical
Merge down
5.
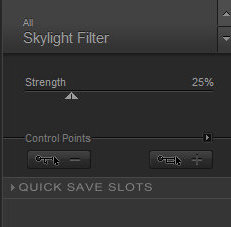
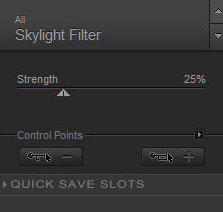
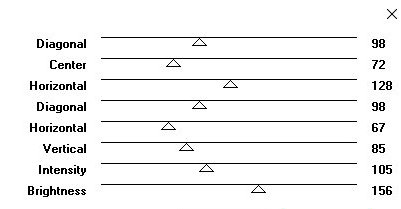
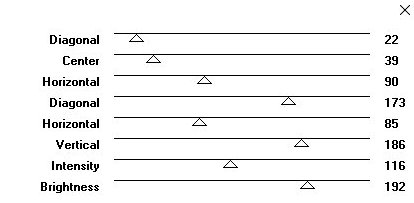
Effects / Plugins / Nik software / color Effex Pro / Skylight Filter
Add new layer
Paint with light color
6.
Layers / New Mask layer / From image / Mask [Narah_Mask_Abstract_63]
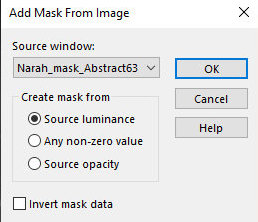
Merge Group
Effects / Plugins / Nik software / color Effex Pro / Skylight Filter
 7.
Add new layer
Layers/Arrange Send to Bottom
Paint with the gradient
8.
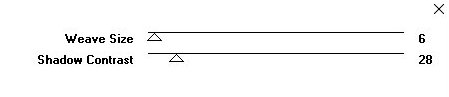
Effects / Plugins / Graphic Plus / Weaver
Activate the layer above - Group Raster 1
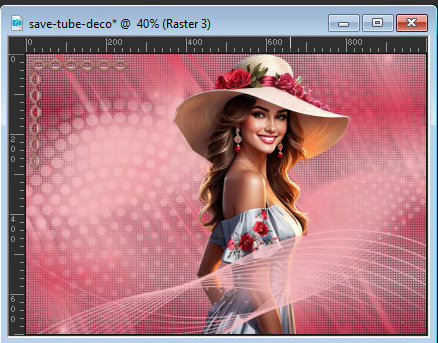
Copy the tube character and paste as a new layer
N.T.: You can erase parts of the first mask that are above the tube
using Freehand Selection 9.
Resize if necessary
Drop shadow of your choice (if it's a mixed tube, you don't need it)
(optional)
Copy the tube deco [angelagmn_43] and paste it as a new layer
10.
Position according to the model
Layers / Properties / blend mode: Luminance (L)
Layers/duplicate
11.
Image / Mirror / Mirror Vertical
Image / Mirror / Mirror Horizontal
Image / Add Borders: Symmetric Marked / 4 pixels / dark color
Image / Add Borders: Symmetric Marked / 4 pixels / light color
Image / Add Borders: Symmetric Marked / 40 pixels / any color
different from the previous one
12.
Select this 40px border with the Magic Wand (tolerance/feather=0)
Paint with this gradient
Effects / Plugins / Graphic Plus / Cross shadow
 13.
Selections/Invert
Drop shadow: 10 10 60 10 black
Repeat with negative V and H
14.
Select none
Image / Add Borders: Symmetric Marked / 4 pixels / dark color
Image / Add Borders: Symmetric Marked / 4 pixels / light color
Image / Add Borders: Symmetric Marked / 30 pixels / different color
than the previous one
15.
Select this 30px border with the magic wand (tolerance/feather=0)
Paint with the gradient

If you want, apply a smooth texture (Effects / Texture Effects /
Texture)
16.
Effects / Plugins / Graphic Plus / Cross shadow
Selections/Invert
Drop shadow: 10 10 60 60 black
Repeat with negative V and H
17.
Select None
Image / Add Borders: Symmetric Marked / 4 pixels / light color
Image / Add Borders: Symmetric Marked / 4 pixels / dark color
18.
Image / Resize: width=1000 px - all layers checked
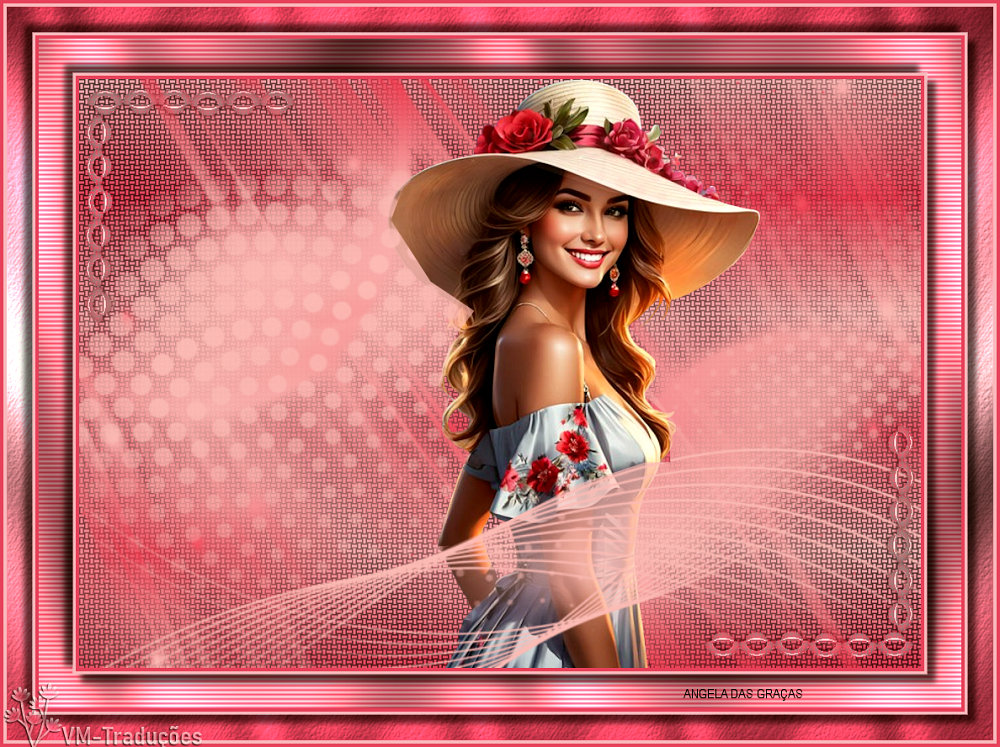
Put your signature
Merge all
Save as jpeg
*
If you do my translation, I will be very happy if:
> You let me know if you find any errors
> Send a copy of your version to my email *
>If when sharing you mention that you used my translation, thus
valuing my work
*MY EMAIL -
veramendespsp2@gmail.com Tutorial traduzido em
21/05/2024
*
 |