|

This tutorial is from Gilda, who I thank for
letting me translate her tutorials
*
Original - HERE

*
Tubes:

*
Material
PSP effects only
> You will need a character tube, a landscape tube and decorative
tubes
*
Plugins:
L&K's
SCRIPT
01. Open your tubes / Duplicate (shift+d) / Close the originals
02. Choose two tube colors: a dark one for the foreground and a
light one for the background
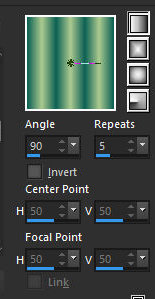
04. Prepare a Linear gradient
05. Open a new transparent image measuring 600 x
450px
06. Paint with the gradient
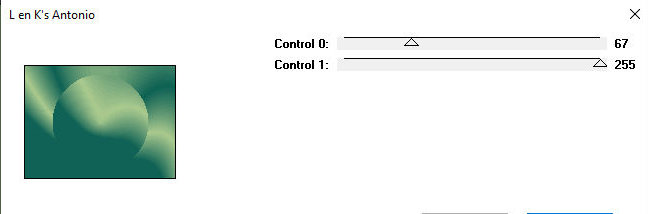
07. Effects / plugins / L & K's / L & K's Antonio
08. Adjust / sharpness / sharpen More
09. Open the landscape tube and resize it to height=400px
10. Copy and paste as a new layer in your work
11. Adjust / sharpness / sharpen More
12. Merge Visible
13. Open the tube character and resize it to height=400px
14. Copy and paste as new layer
15. Position to the right
16. Drop shadow: 2 2 50 2 black
17. Copy the decorative tube and paste as a new layer
18. Position on the left
19. Drop shadow: -2 -2 50 2 black
20. Image / Add borders / symmetric checked
2px / dark color
15px / light color
21. Select this 15px border with the Magic Wand
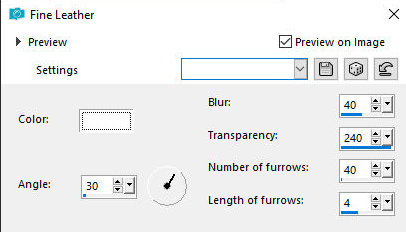
22. Effects / Texture Effects / Fine leather
23. Select none
Image / add borders / symmetric marked / 2px / dark color
23b. Image / Resize: width=950px
23c. Adjust/sharpness/Sharpen
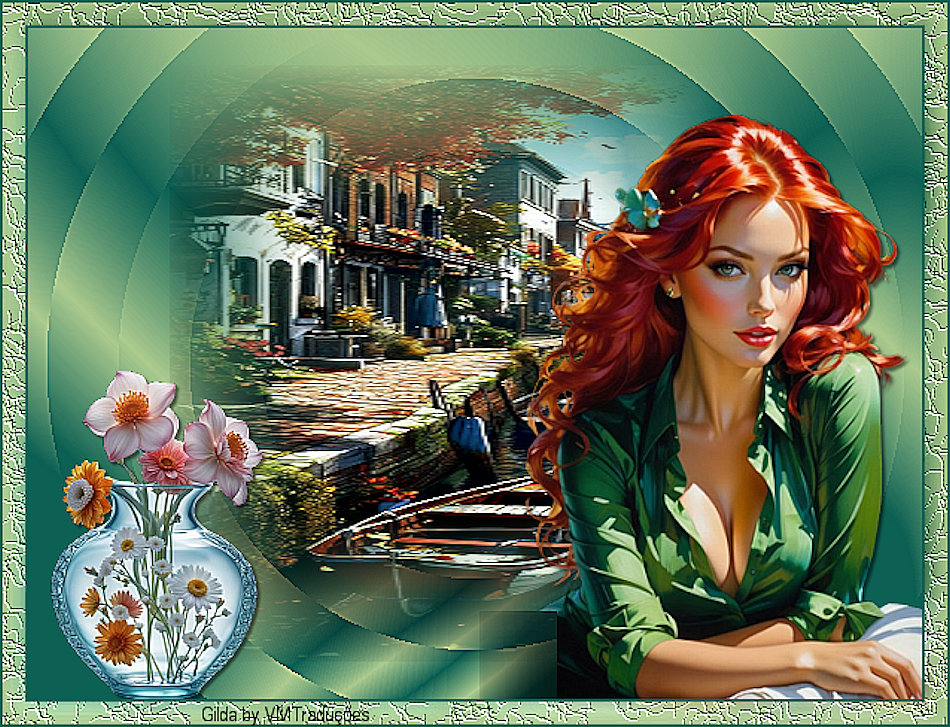
24. Put your signature
Merge all
Save as jpeg
*
If you do my translation, I will be very happy if:
> You let me know if you find any errors
> Send a copy of your version to my email *
>If when sharing you mention that you used my translation, thus
valuing my work
*MY EMAIL - veramendespsp2@gmail.com
Tutorial traduzido em 06/04/24
*
 |