|

This tutorial is by Silvana Gomes, who I thank for
letting me translate her tutorials.
*
Original here

*
Tubes

*
Material

*
Plugins
PSP effects only
SCRIPT
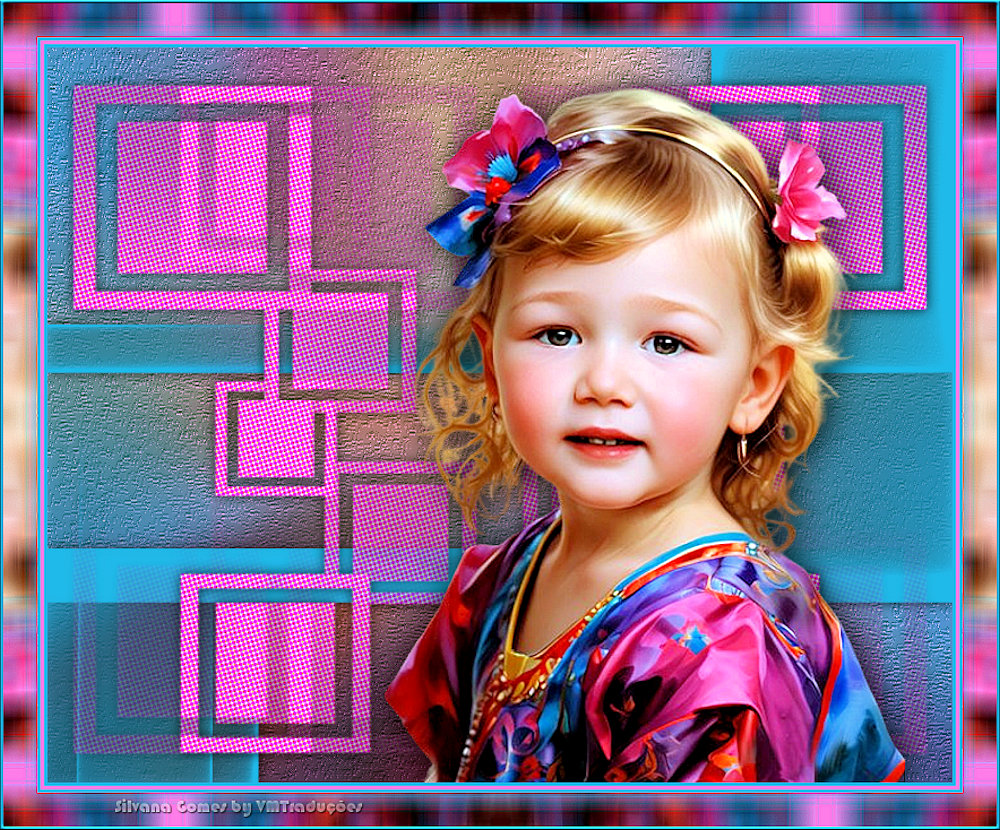
1.
Place the preset [Preset_InnerBevel_moldura slightly stuf.] in the
Presets folder of the psp
Open masks on psp and minimize
2.
Choose two colors for your tube: a dark one for
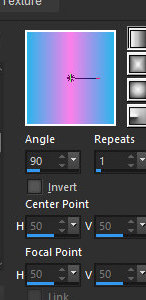
the foreground and a light one for the background
Prepare a Linear gradient
3.
Open a new transparent image measuring 800x650px
Paint the image with the gradient
4.
Selections / select All
Copy the tube character and paste it into the selection
5.
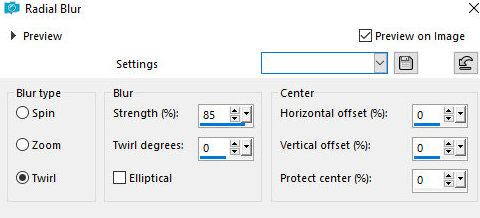
Select none
Adjust/blur/Radial blur
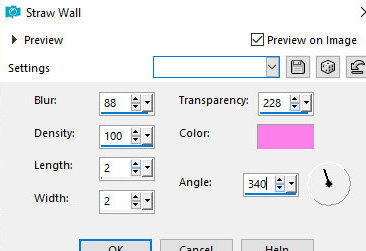
6.
Adjust / blur / Gaussian Blur=10

Effects / Texture Effects / Straw Wall
7.
Add a new layer
Paint this layer with dark color
8
Layers / New Raster Layer / From Image / Mask [VSP262]

Merge Group
9
Drop Shadow: 0 0 80 15 black
Add new layer
10
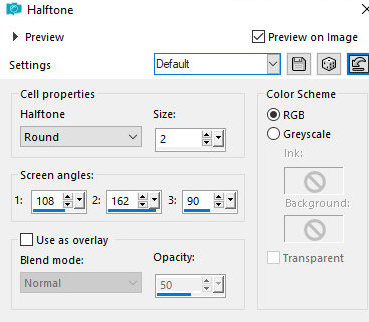
Paint with light color
Effects / Artistic Effects / Halftone - Default
11.
21. Layers / New mask Layer / From Image /Mask [VSP193]
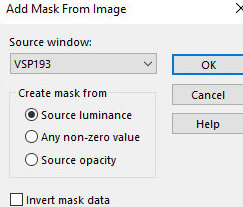
Merge Group
12.
Drop shadow: 0 0 80 15 pr
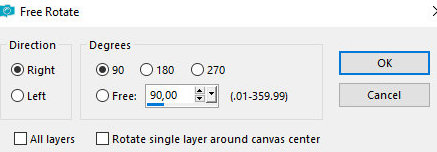
Image / Free rotate [Right/90]
13.
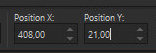
Activate the pick Tool and configure: X=408 / Y=21
Layers/duplicate
14.
Image/Mirror/Mirror/Horizontal
Merge down
15.
Copy the tube character and paste as a new layer
Drop shadow of your choice
16.
Image / Add borders / 3px / dark color
Image / Add borders / 3px / light color
Image / Add borders / 3px / dark color
Image / Add borders / 30px / dark color
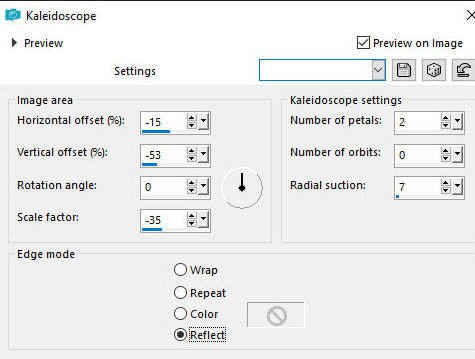
17.
Select this 30px border with the magic Wand (tolerance/feather=0)
Effects / Reflection Effects / Kaleidoscope
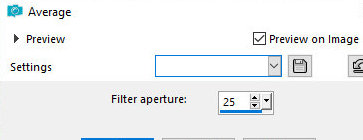
18.
Adjust / blur / Average=25
Effects / Edge Effects / Enhance more
19.
Selections / Select all
Image / Add borders / 3px / dark color
20.
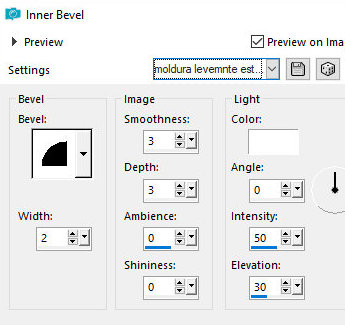
Selections/Invert
Effects / 3D Effects / inner Bevel / Preset [[Preset_InnerBevel_lightly
padded frame]
21.
Select none
Put signatures
Merge all
Save as jpeg
* Tutorial traduzido em
19/07/2024
*
 |